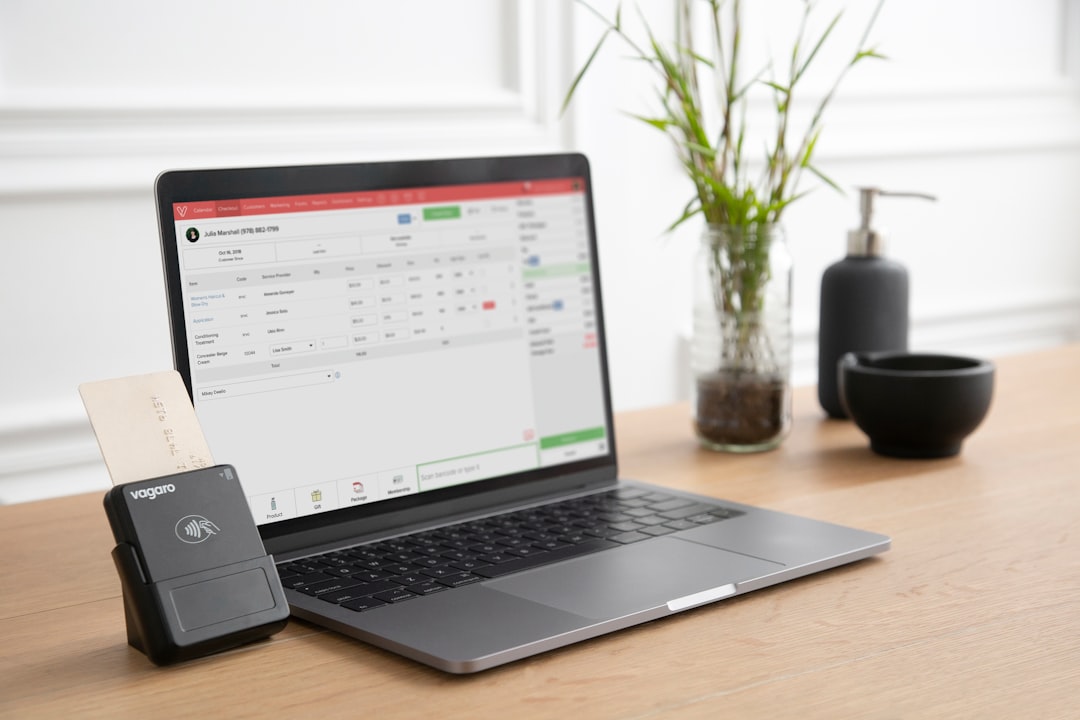
When you go from a spreadsheet to app, you stop running your business off fragile rows and formulas and start running it on a system. The shift is simple: instead of asking people to "use the sheet correctly," you give them an interface that guides the work, validates data, and triggers follow-ups automatically.
This guide shows you how to convert a spreadsheet to an app in a way that stays practical: you will clean the data, design the app screens, add rules and automations, and ship a first version you can trust.
Spreadsheet to app: what it actually means
A spreadsheet-to-app conversion means you use your spreadsheet data (or a cleaner database version of it) to power an application with:
-
Forms instead of freeform cells: People enter data through fields with required values, dropdowns, and rules.
-
Views instead of tabs: Users see lists, dashboards, and detail pages that match their role.
-
Permissions instead of "don't touch that column": Access is controlled by login and role.
-
Automations instead of manual reminders: Updates can trigger emails, tasks, notifications, or status changes.
The end result is a workflow that guides people through the process and keeps moving without you policing every update.
If you are still evaluating whether you should build custom software or buy an off-the-shelf tool, start with this decision framework: custom business software development: build vs buy.
When a spreadsheet stops working
Spreadsheets are great for early traction. They break when collaboration and accountability become part of the job.
Watch for these signs:
-
You keep finding "almost duplicates": Small differences in names, dates, or IDs create reporting chaos and billing mistakes.
-
Your team asks "which tab do I update?": The workflow lives in people's heads, not in the system.
-
You are locking columns to prevent accidents: Protection helps, but it is a warning that you need real permissions.
-
Every update needs a Slack message: You are doing "human webhooks" all day.
-
Reporting takes longer than the work: If you spend more time fixing data than using it, the spreadsheet is already costing you.
If the core problem is bigger than one spreadsheet and you want to systemize the business, this pairs well with: how to automate business processes.
How a spreadsheet becomes an app
Most spreadsheet-to-app projects succeed or fail on one thing: whether you treat the sheet like a database.
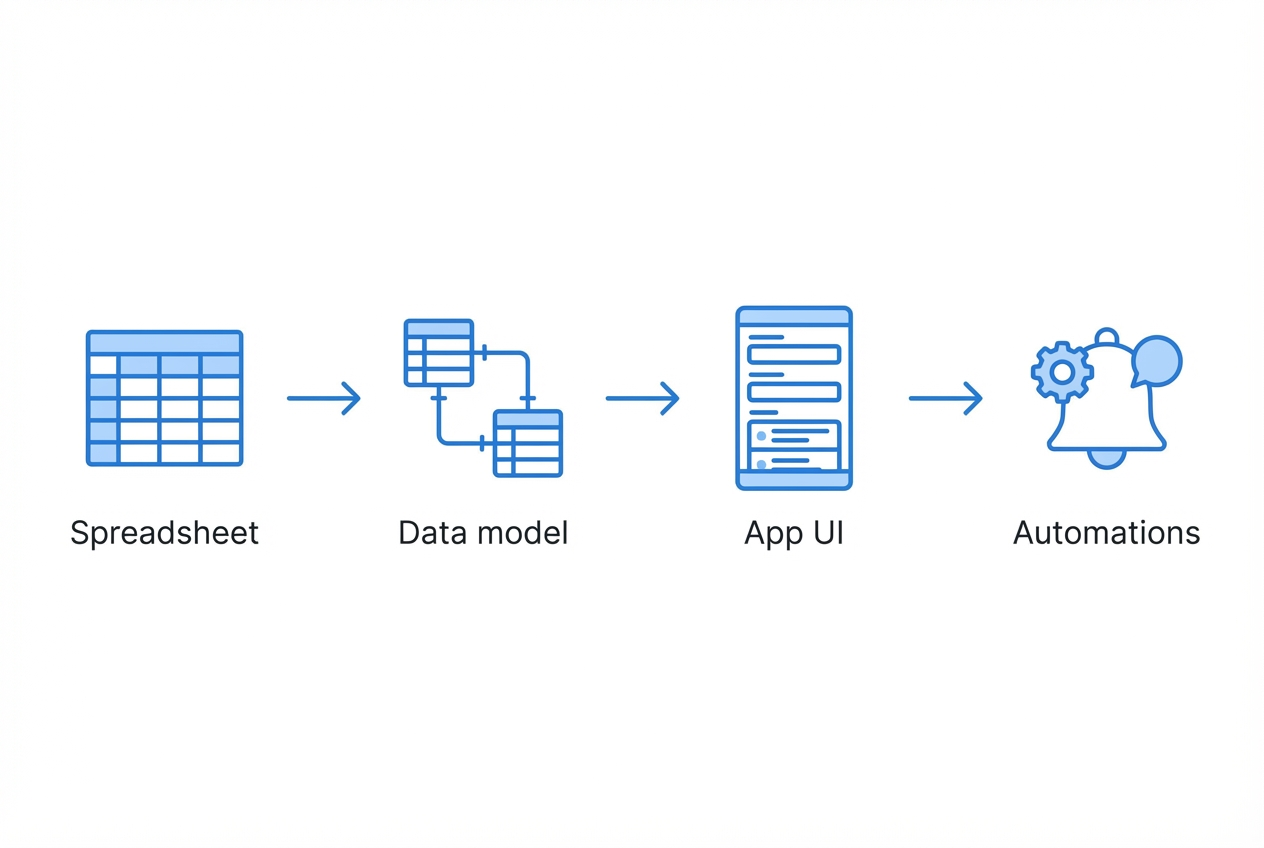
Here is the simplest model that works:
-
Spreadsheet (raw truth): Your current rows and columns, including the messy parts.
-
Data model (clean structure): Tables, unique IDs, and relationships (for example, Clients → Projects → Invoices).
-
App UI (the experience): Screens that let users browse, edit, and act on records.
-
Automations (the leverage): Rules that move work forward when something changes.
If you understand that flow, the rest is just execution.
Pick the right build path for your spreadsheet to app project
There are three common paths: no-code, low-code, and custom. The best choice depends on how unique your workflow is and how much control you need.
| Option | Best for | Where it shines | Where it breaks |
|---|---|---|---|
| No-code app builders (AppSheet, etc.) | Simple internal tools, quick MVPs | Fast setup, lots of built-in UI patterns | Complex permissions, custom logic, high-scale needs can get painful |
| Low-code platforms (Microsoft Power Apps) | Teams already in Microsoft 365, more control than no-code | Connectors, deeper logic, enterprise patterns | Can become "developer-ish" quickly, governance overhead |
| Custom app (agency or in-house) | Differentiated workflows, productized service apps, customer-facing apps | Full flexibility, better long-term architecture | Higher upfront work unless you use AI-assisted development |
Two useful reference points:
-
AppSheet path: Google's AppSheet describes building apps from sources like Google Sheets and Excel and adding automation through workflows: AppSheet: how to create an app.
-
Power Apps path: Microsoft documents how to create a canvas app using Excel data and build browse and edit screens: Microsoft Power Apps documentation.
Where QuantumByte fits (and when it is the fastest path)
QuantumByte is designed to work at both ends of the spectrum: fast, plug-and-play builds when you want to move quickly, and deep customisation when the requirements go beyond what templates or no-code tools can handle.
You can start by generating a working app from natural language, using prebuilt components and sensible defaults, then progressively layer in enterprise-grade customisations, complex roles, bespoke workflows, integrations, and performance tuning, with a dedicated team when needed. That makes it a practical option for teams that want speed early on without boxing themselves in later.
How to convert a spreadsheet to an app
This process works whether you use AppSheet, Power Apps, a custom build, or QuantumByte. The difference is how fast each step is.
Step 1: Freeze the spreadsheet workflow
Before you touch tooling, document how the sheet is used today.
Capture:
-
Who edits what: Owners, staff, contractors, clients.
-
What "done" means: The status values people use, even if they are inconsistent.
-
What triggers follow-ups: For example, "When invoice sent, remind in 7 days."
-
What reports matter: Weekly pipeline, overdue tasks, monthly revenue.
You are mapping what must stay true for the business to run. Once you have that, you can simplify the messy parts without losing the result you care about.
Step 2: Clean and normalize your data

If you skip this, your app will feel broken even if the UI looks perfect.
Focus on four fixes:
-
Unique IDs: Add an ID column for each main entity (ClientID, ProjectID). Do not rely on names.
-
Consistent data types: Dates must be dates, not mixed formats. Currency must be numbers.
-
Controlled values: Replace free-text statuses with dropdown-ready values.
-
One concept per column: If "Notes" includes dates and totals, it will be impossible to automate later.
A practical approach: duplicate the sheet, clean the copy, and keep the original as a reference until launch.
Step 3: Split the spreadsheet into tables
Most spreadsheets cram multiple "tables" into one grid. Apps do better when each table represents one thing.
Common splits:
-
Clients: One row per client.
-
Projects: One row per project, with a ClientID column.
-
Transactions or line items: One row per transaction, with a ProjectID or InvoiceID.
-
Users / team: One row per user, role, and access rules.
This is also the moment to delete "summary tabs." Your app can calculate summaries live.
Step 4: Decide where the data will live
You have two choices:
-
Keep the spreadsheet as the data source: Best when you need speed and the data is small to medium. Many builders connect directly.
-
Move to a database: Best when you need stronger integrity, complex relationships, or scale.
If you are staying on Google Sheets but want custom behavior, it helps to know what is possible programmatically. Google documents the underlying interface for reading and writing sheets data here: Google Sheets API concepts.
Step 5: Design the app screens around actions, not around columns
Your spreadsheet is column-first. An app should be action-first.
Start with three screens that almost every internal app needs:
-
Browse screen: A searchable list (clients, projects, tasks, invoices).
-
Detail screen: One record with key fields, timeline, and related items.
-
Create/edit form: A guided form with required fields and defaults.
Then add one "power" screen that saves you time each day. Examples:
-
Today's follow-ups: A single place to see what needs attention now.
-
Overdue invoices: A focused queue to protect cash flow.
-
New leads to contact: A simple view that prevents warm leads from going cold.
Step 6: Add validation rules and calculations
This is where an app starts paying you back.
Build rules like:
-
Required fields: Users cannot save without essentials (client, amount, due date).
-
Allowed ranges: Stop negative totals, impossible dates, or invalid quantities.
-
Auto-calculated totals: Subtotals, tax, discounts, margins.
-
State transitions: If a record is "Paid," lock invoice amount from edits.
In spreadsheets, this logic lives in scattered formulas. In an app, it becomes consistent and enforceable.
Step 7: Add permissions and roles early
Even small teams need clear access.
Define:
-
Admin: Can edit settings, manage users, view everything.
-
Operator: Can edit operational records but not billing settings.
-
Viewer: Read-only for leadership or partners.
-
Row-level security (when needed): Users can only see their own clients or territory.
If you plan to share the app with clients, treat this as a core feature, not a nice-to-have.
Step 8: Build automations that remove manual follow-up
Automations are the reason the spreadsheet-to-app shift feels like freedom.
High-leverage automations:
-
Status-triggered notifications: When "Ready for review," notify the reviewer.
-
Scheduled nudges: Remind on overdue items daily at 9am.
-
Lifecycle tasks: When a new client is created, auto-create onboarding tasks.
-
Audit trail: Log who changed what and when.
If your spreadsheet today supports finance workflows (reconciliation, payables, invoicing), you will see immediate gains. This example shows the same shift from manual to real-time clarity: bank reconciliation automation.
Step 9: Test with real work, not sample data
A good test is a normal week of operations.
During testing, look for:
-
Speed bumps: Too many fields, confusing labels, missing defaults.
-
Edge cases: Refunds, partial payments, paused projects, duplicate names.
-
Permission gaps: People seeing records they should not.
-
Reporting trust: Do totals match what you expect?
Fix the friction first. Fancy features can wait.
Step 10: Launch the MVP, then iterate toward "production-grade"
Launch is a change management moment.
Plan a simple cutover:
-
Pick a start date: From that date, the app is the source of truth.
-
Lock the old sheet: Read-only, with a banner that points to the app.
-
Train in 30 minutes: One short session focused on the 3 screens and one daily workflow.
Then iterate based on reality.
If you want a repeatable way to turn messy business knowledge into app-ready requirements, QuantumByte's workflow is designed for that. You describe the process, inputs, and outputs once, then reuse it as you build.
Most spreadsheet-to-app failures are not technical. They are structural.
-
Building the UI before cleaning the data: You will rebuild screens when you later fix table structure. Clean first, then build.
-
Trying to replicate every tab: Apps should simplify. Keep only what drives decisions or actions.
-
No owner for the workflow: Someone must decide what "correct" means (statuses, definitions, required fields).
-
Ignoring integrations until the end: If the app must connect to Stripe, QuickBooks, Slack, or email, design for it early.
-
Skipping logging and audit trails: When numbers matter, you need to know who changed what.
If you are thinking about a deeper system that connects multiple tools and departments, this broader view helps: conversational AI app development.
When to stay with no-code, and when to level up to custom
No-code and low-code tools can take you far. The key is knowing the "upgrade triggers."
Consider leveling up when:
-
Your app becomes customer-facing: You need stronger branding, performance, and security.
-
You need complex pricing, permissions, or approvals: These quickly outgrow simple rules.
-
You want a durable productized service: Your app becomes part of what you sell.
This is the moment where QuantumByte's hybrid approach tends to win. You can build quickly with artificial intelligence, then bring in experienced developers to handle advanced workflows and integrations without restarting from scratch.
Wrap-up: turning rows into a scalable system
A spreadsheet can run a business at the start. It struggles once the business needs consistency, speed, and accountability.
In this guide, you learned how to move from spreadsheet to app by:
-
Data structure: Cleaning and restructuring data into real tables so your app has stable building blocks.
-
Action-based screens: Designing browse, detail, and form views that match how people actually work.
-
Rules and control: Adding validation, roles, and audit-friendly workflows so mistakes drop and trust goes up.
-
MVP delivery: Shipping a first version, then iterating toward a production-grade system based on real usage.
Done well, this shift multiplies your impact. You stop babysitting the process and start scaling it.
Frequently Asked Questions
What is the fastest way to go from spreadsheet to app?
The fastest path is to keep your spreadsheet as the initial data source and use a builder that can generate list and form screens automatically. You still need to clean the sheet and define roles, but you can ship a usable MVP quickly.
Should I keep using Google Sheets as the database?
For many small internal apps, yes. It is familiar and quick. Move to a database when you need stronger data integrity, complex relationships, or higher scale.
Can I convert an Excel spreadsheet to an app?
Yes. Many platforms connect to Excel stored in cloud services. Microsoft specifically documents building canvas apps using Excel data and creating browse and edit screens: Power Apps documentation.
What is the difference between AppSheet and a custom app?
AppSheet is a no-code platform that can build apps from sources like Google Sheets and Excel and supports automations through workflows: AppSheet: how to create an app. A custom app gives you complete control over UI, permissions, performance, and integrations, but usually requires more build effort.
How do I know what features to build first?
Start with the workflow that costs you the most time each week. Build the smallest set of screens and rules that makes that workflow reliable. Then add automations that remove manual follow-up.